 by
by
This post will give you a brief walkthrough of how to set up and configure a Jenkins Continuous Integration server on Windows, using IIS as forward proxy.
Jenkins Installation
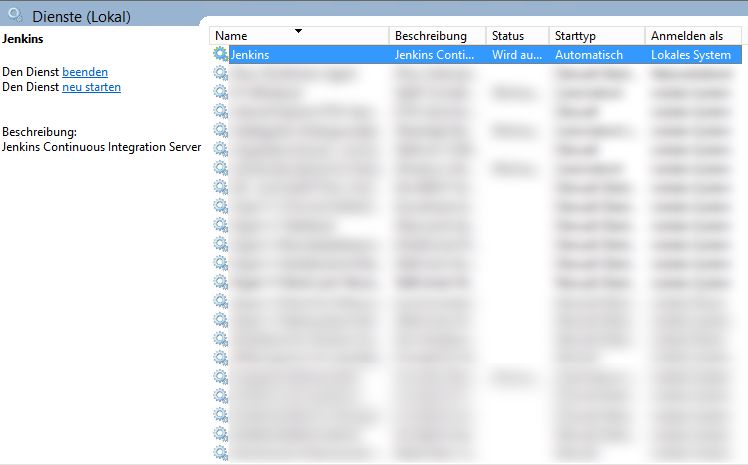
The actual installation is quite simple, just go to https://jenkins.io, download the latest Windows installer and perform the setup. You should take care to install Jenkins not under the default directory in C:\Program Files(x86)\Jenkins but to a different location, e.g. C:\Jenkins. After the installation, the "Jenkins" service should be present and set to automatic start.
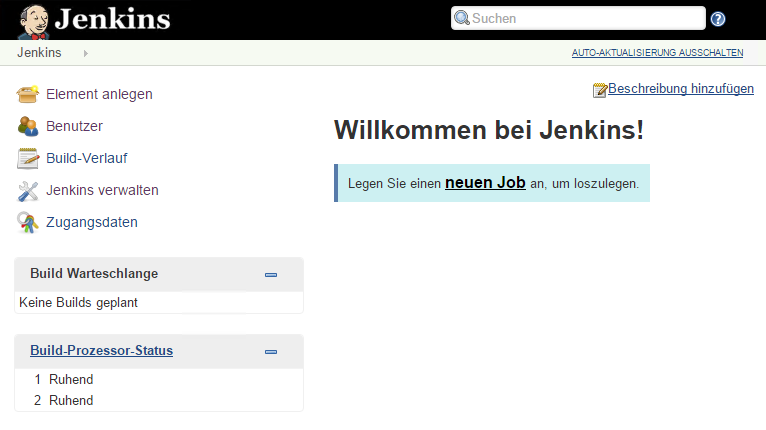
On completion, the setup process should open the default browser and redirect you to http://localhost:8080, the default Jenkins location. It might be that you're seeing a "Page not available" error due to Jenkins not having started up. In that case, just wait a few seconds and reload the page. You'll be greeted by your new butler, ready to serve.
Initial Jenkins Configuration
Change Language to English
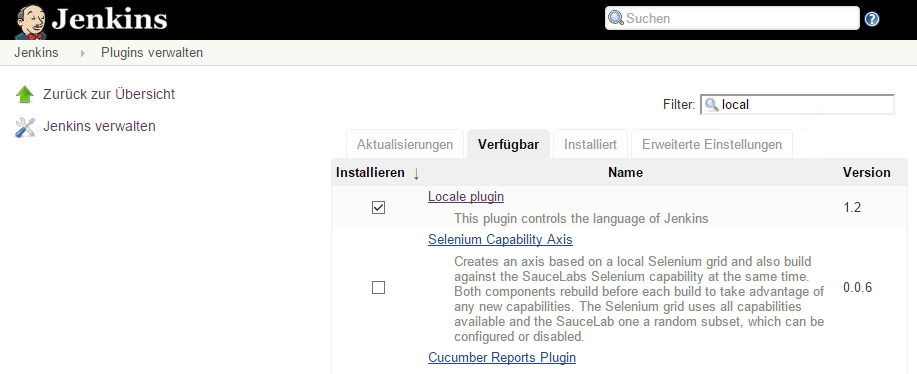
If your Jenkins locale is different from English you'll be greeted in that language, so instead of seeing "Welcome to Jenkins", you might have gotten " ". Since you probably want to change it to English, you're about to get familiar with Jenkins' plugin system right from the start. You have to navigate to Manage Jenkins -> Manage Plugins -> Available (or the equivalent in your language), search for the "Locale Plugin" and install it.
After you've installed the plugin and restarted Jenkins, there's a new section in the Manage Jenkins -> Configure System settings menu called Locale where you need to apply the following settings:

Congratulations, you just installed and used your first plugin. !
Configure Email
Configuring email settings is pretty straightforward. Just go to Manage Jenkins -> Configure System and scroll down to the email settings. You'll need to enter the credentials of the email account you want to use and you should verify the setup by sending a test email. Just remember to set the "System Admin e-mail address" field so Jenkins uses the correct sender field when sending emails and your sent mails don't get rejected by the SMTP server.
Securing Jenkins
When you're in the Manage Jenkins section, you'll notice that it's not so hard to miss the hint for taking security into consideration.

After clicking on "Setup Security", you should set up the following configuration:
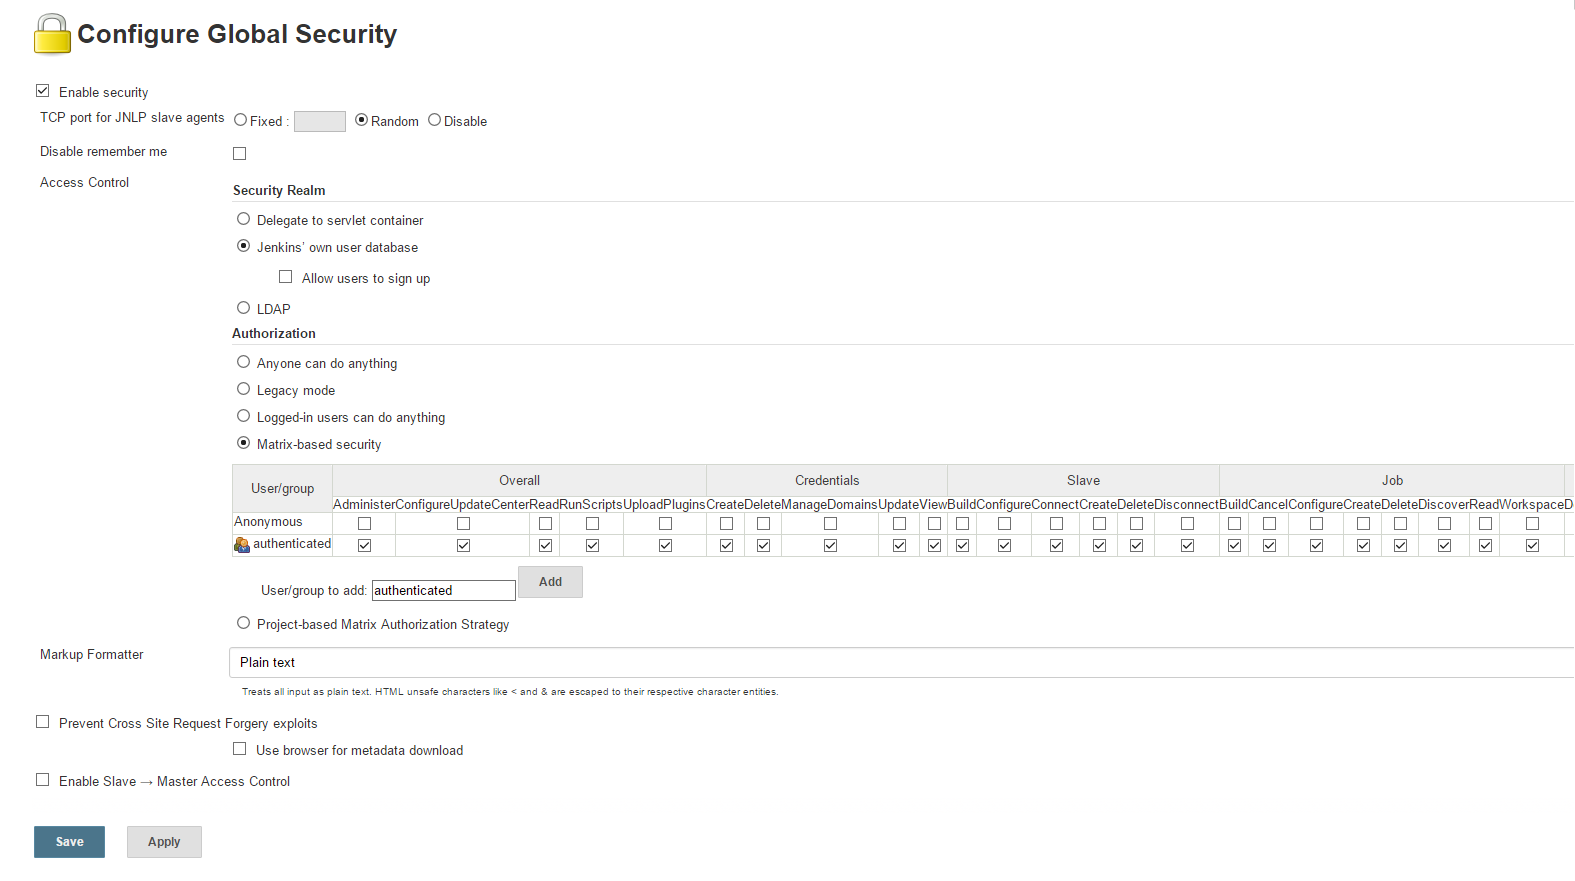
It's obvious that you want to enable security. To start quickly, you can tell Jenkins to use and maintain its own user database. Disallow users to sign up, since you want manual control over who can access the server. In the "Authorization" section, you should select "Matrix-based security" and then add the group "authenticated" to the settings. Enable all checkboxes for them and none for the "Anonymous" group. Now when you click save and navigate to another page, you'll be asked to create a user (since there is none yet, and you require one user, of course!). More sophisticated user rights management is not part of this tutorial. If you have a need for that, you can dig into the official documentation when you've finished setting up the basics!
Adding a user can easily be done in the Manage Jenkins menu by going to Manage Users and then select Create User in the left navigation menu.
Setting up an IIS Reverse Proxy to Access Jenkins from the Outside
Now that Jenkins is secured, it's time to make it accessible from outside of the local machine without having to open ports and accessing Jenkins directly. Bonus: If you're planning to use SSL (which you should!) it's much easier to do that using IIS instead of the Java tools for that if you're more experienced in the Microsoft world than the Java one.
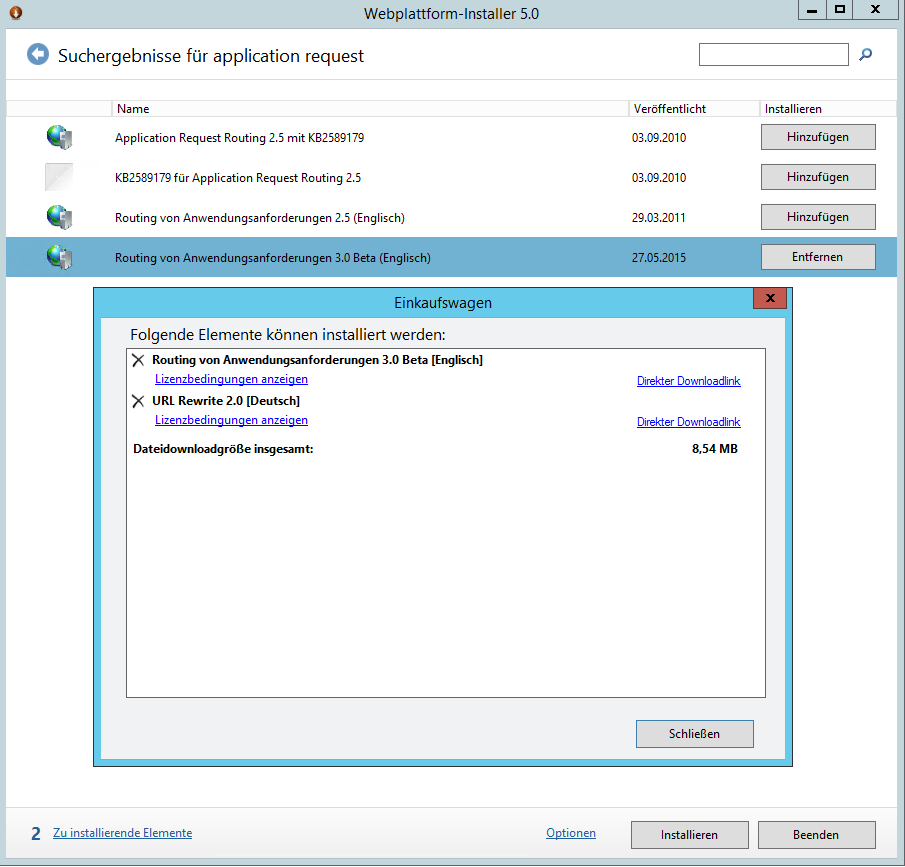
First, we need the correct IIS plugins, available in the WebPlatform-Installer. I hadn't set my OS language to English, so you'll have to rely on my translations enough to search for the required components.
- Application Request Routing
- URL Rewrite
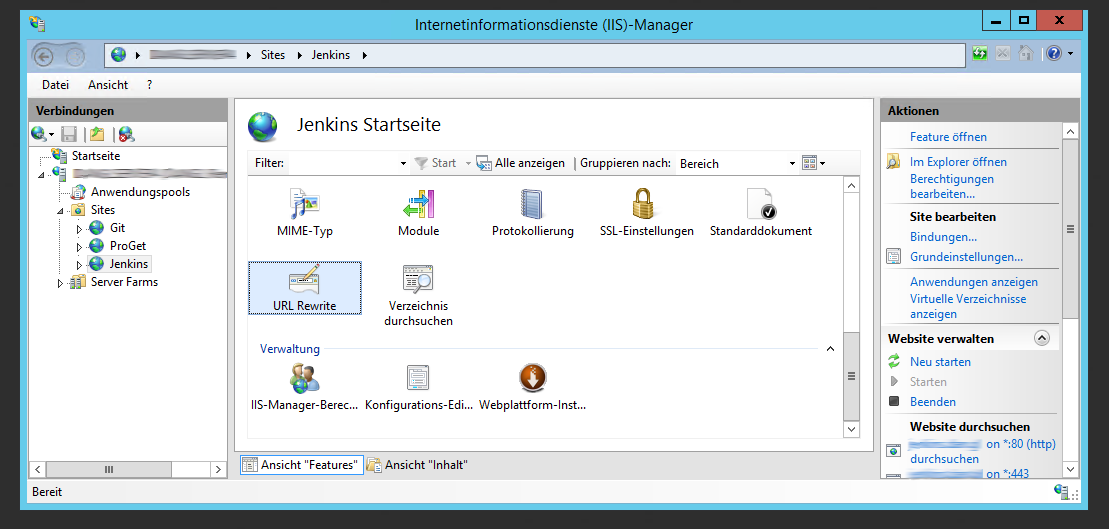
After you've installed them, just create a new website in IIS and assign it the bindings that you want to use for accessing Jenkins, like the preferred IP addresses to listen on and the hostnames to bind to.
The next step is to select the site, go to "URL Rewrite" and create a new rule by selecting "Add Rule" on the right action menu.
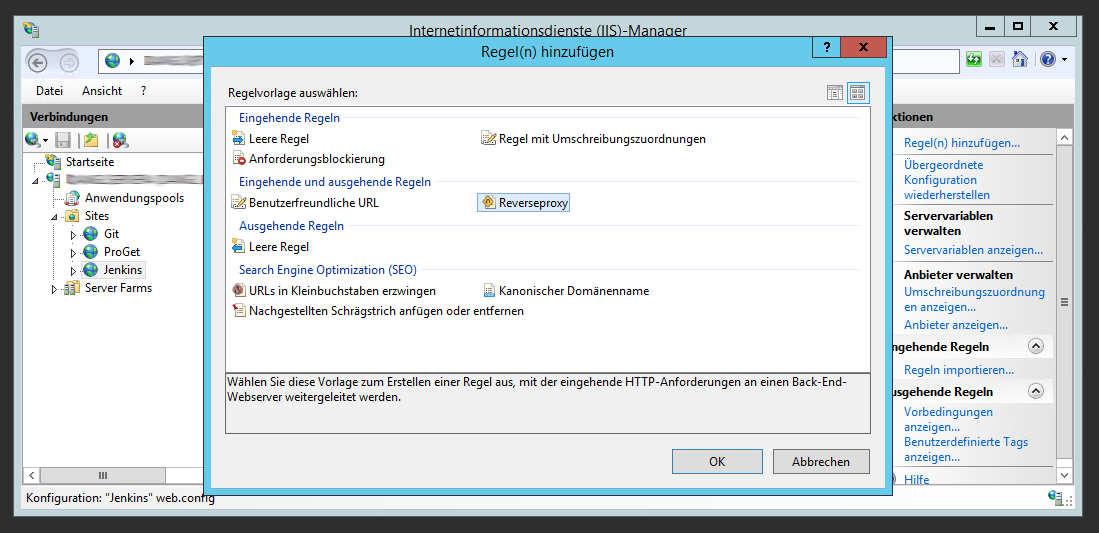
The first time you're creating a new reverse proxy rule, IIS Manager will ask you to add reverse proxy rules. You can confirm that, since you do want it because you just clicked on that=)
Now, let's examine the necessary configuration:
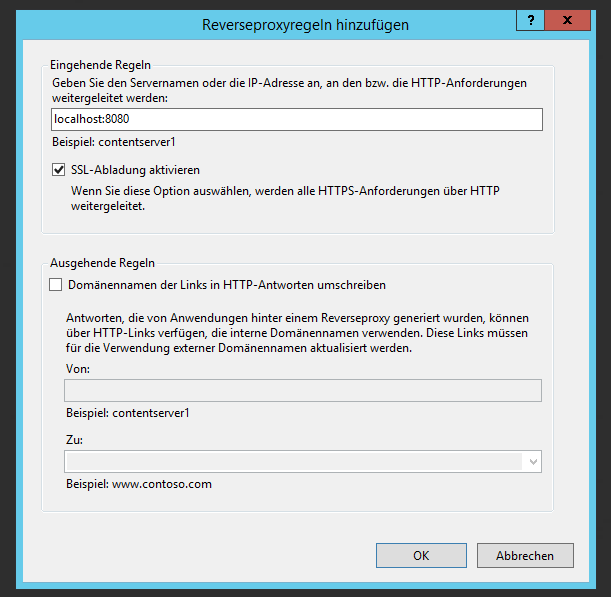
- The address to which the request should be routed will be the local Jenkins URL, it's the one we've used so far to access Jenkins.
- SSL Offload: Activate it when Jenkins has not been configured for SSL. You'll want to use SSL for the access from the outside, but the internal communication from IIS to Jenkins may very well happen unencrypted. It should be disabled if your IIS needs to route over some untrusted network path to talk to your Jenkins (so when Jenkins and IIS are neither in the same network nor on the same machine).
- Domain name rewriting is in practice not too different from how you'd expect string.Replace() would work it's replacing the internal domain with the external one. Since Jenkins does have a feature for that you shouldn't enable it here, if only for performance reasons.
Click OK and then navigate to where your IIS site is listening on. If everything worked, you should see Jenkins!
If you navigate to the directory that you created for your reverse proxy website, you'll find that a web.config containing a rewrite rule has been created. If you're using SSL, you might alter it so that the "rules" element contains these two rules:
<!-- Enforces redirection of all HTTP traffic to HTTPS -->
<rule name="Enforce HTTPS" stopProcessing="true">
    <match url="(.*)" />
        <conditions>
            <add input="{HTTPS}" pattern="off" />
        </conditions>
    <action type="Redirect" url="https://{HTTP_HOST}/{R:1}" redirectType="Permanent" />
</rule>
<rule name="ReverseProxyToLocalJenkinsRule" stopProcessing="true">
    <match url="(.*)" />
        <conditions>
            <add input="{HTTPS}" pattern="on" />
        </conditions>
        <action type="Rewrite" url="http://localhost:8080/{R:1}" />
</rule>
These rules will return a permanent redirect result to your secure endpoint for any requests if they're being sent over plain http. . The second rule is the original reverse proxy rule, now altered to only trigger when the request is coming via https. If you're not using SSL, then you should really start using it, there's free certificates for you available at StartSSL.
Update 30.01.2017: With StartSSL being effectively dead, they're no longer an option for free TLS certificates. However, Let's Encrypt being supported by all major players now, they're a great source of free TLS certificates for web servers. You can read here how to obtain certificates in IIS with Let's Encrypt.
Now, but this is optional, you might get 404.11 URL_DOUBLE_ESCAPED errors for certain pages in your Jenkins application from IIS. You can add the following section directly within the system.webServer section of the web.config file to prevent this error.
<security>
    <requestFiltering allowDoubleEscaping="true" />
</security>
Finally, depending on your unit test namespaces and classnames, you might run into an issue where the urls generated by Jenkins are too long for IIS. Just add the following snippet to your web.config file and you should be save for a while. Please note that certain browsers might impose their own limitations here, but you're unlikely to get urls so long as to cause issues there.
<system.web>
    <httpRuntime maxUrlLength="4096"/>
</system.web>
After the IIS configuration, two more things need to be done in Jenkins:
- Tell Jenkins the domain it will be available on. It's to let Jenkins know what its "real" address should be. Do that in "Manage Jenkins" -> "Configure System" -> "Jenkins Location" by replacing the Jenkins URL with the one to actually use, e.g. jenkins.yourdomain.com.
Don't do this before you've set up the reverse proxy, since for me I wasn't able to log in anymore using the localhost:8080 address after I logged out. Might been some weird thing on my machine, but if you do happen to lock yourself out you're going to have to disable global security in the config.xml in Jenkins install directory so you can recover.
(After that, you'll get a notification in the Manage Jenkins section telling you that your reverse proxy configuration is broken. But what's not there yet can't be broken, so don't worry) - Configure Jenkins so that it will only serve requests on localhost. The firewall should prevent such a thing from happening, but it's a good idea to configure it anyway. The Windows Firewall is kinda prone to being toyed with when stuff stops working and then it's just never set back to how it should be.
Note: Don't do this if your webserver will be on another host. In that case, you do want to access it from somewhere other than the local machine, meaning that requests will come from some external facing IP address. If that's the case, it's best to set up a whitelist to allow access on that port.
As of now, you can only change that in the jenkins.xml file that is located in the Jenkins install folder. Just open it, search the element "arguments" and add the following argument: --httpListenAddress=127.0.0.1
We're telling Jenkins to only listen on 127.0.0.1, instead of the default which makes it to listen to anything (like I do with music). Restart the service to have the changes take effect.
Now we've got a basic setup for Jenkins. It doesn't do much yet, but I'll write some more posts soon telling you how to setup .Net projects (regular and with the new dotnet CLI) and some other stuff.